


This is not a post about being hot – even though we are parked on asphalt, the air conditioners in the RV work just fine. No – instead it is about baking in the convection oven / microwave in the RV. In a previous post I shared how I was challenged with the gas range (some of you think I am just challenged in general). And on Day 1 of Retirement I shared about frying an egg – success! Hey – I celebrate even small accomplishments.
I may be challenged in cooking, but I have always loved to bake. I make cookies, cakes, bread, and other goodies whenever I have an excuse. My biggest success in cooking is casseroles because you can bake them in the oven.
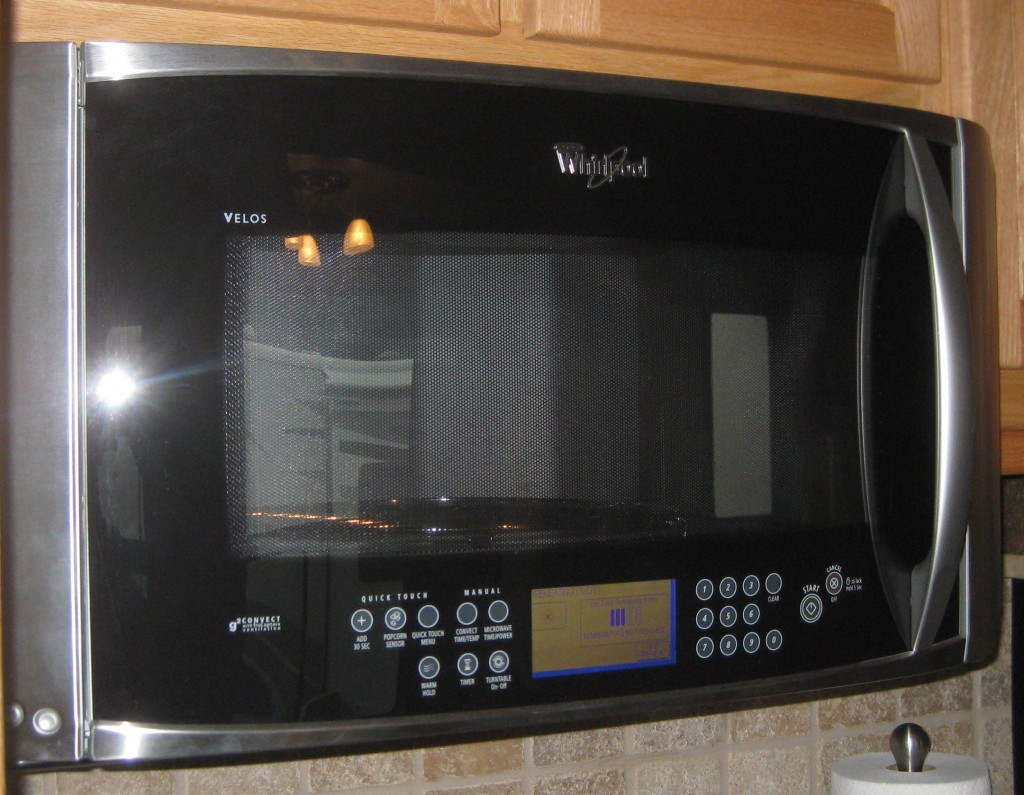
So, it was with some trepidation that we decided to forgo an oven in the RV. I don’t need to bake a lot of cookies for just Tom and me (don’t listen to him). RV ovens are notoriously bad at baking. And I wanted the extra two drawers of storage that an oven would have taken. Instead, we got a combination convection / microwave oven.
We have been microwaving plenty of stuff and the oven does a good job with that. But yesterday was the first day I had an excuse to bake something. Some friends invited us for a 4th of July picnic and I was told to bring dessert. Time to be bold and daring! Time to pull on the oven mitts! Time to bake some brownies!
The first step was taking stuff out of the oven. The RV came with all kinds of stuff beautifully wrapped in plastic and styrofoam in the microwave. When we have wanted to use it, we set the whole thing on the counter, use the microwave, and then put it back. Today I decided to figure out what was in there and find another storage place for it.
There was a steamer, a rack for broiling, a rack to aid in convection, and a grill (looked a lot like a cookie sheet). Cool. Wonder if I will ever use the steamer or the grill. But the rack for convection was certainly important today. I kept out the rack and found a place to store the rest of the items.
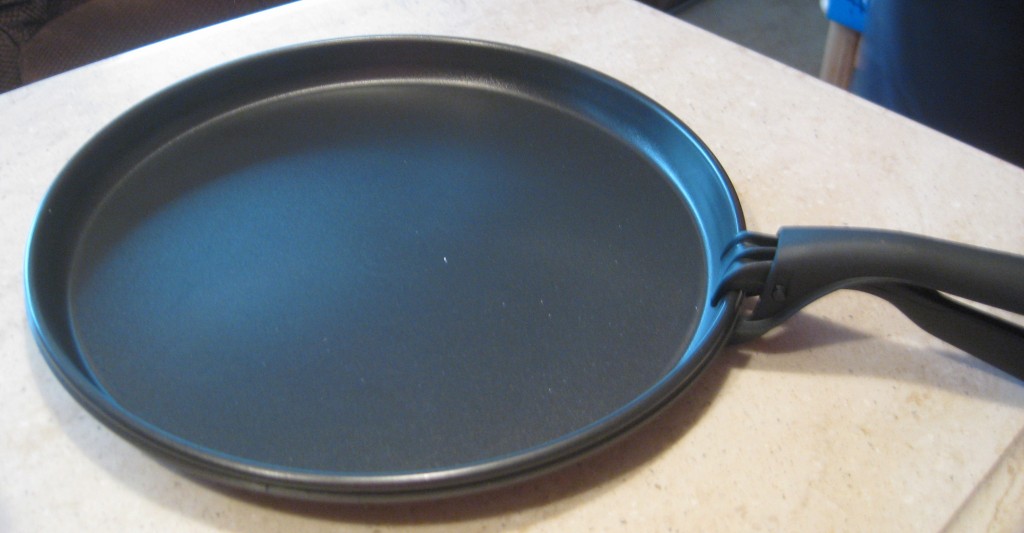
Second step – mix up the brownies and put them in the new pan that is the right size for the oven (the usual 13 X 9 pan is a little too big).
Third step – look up recipe conversion for convection ovens online. I know convection ovens bake faster, but are there rules for converting a recipe? Yes there are! Either shorten the cooking time or turn the oven temperature down 25 degrees. I decided to do both.
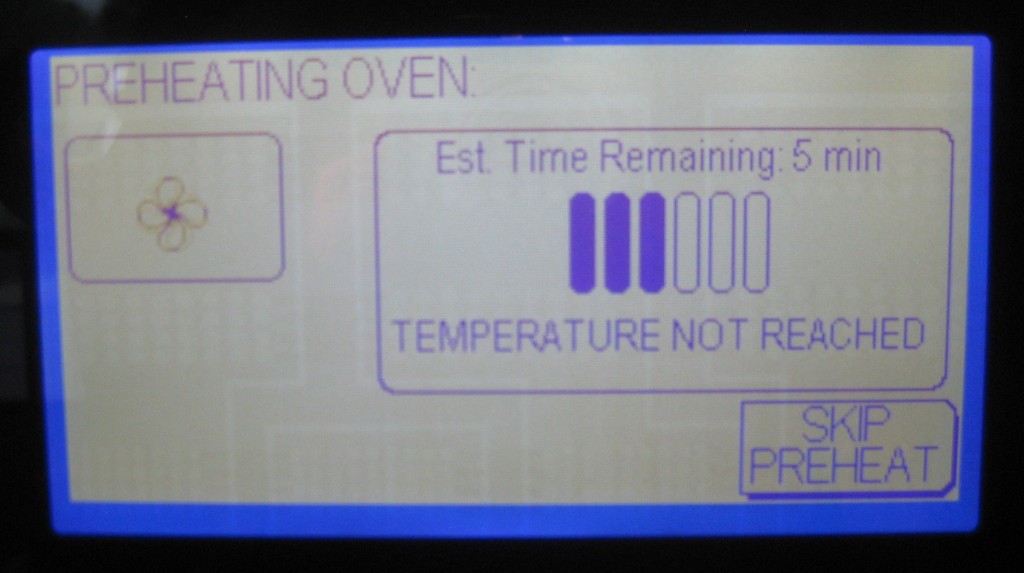
Fourth step – figure out how to set the convection oven. Fortunately the oven is smarter than I am and it guided me through the steps using the touch screen.
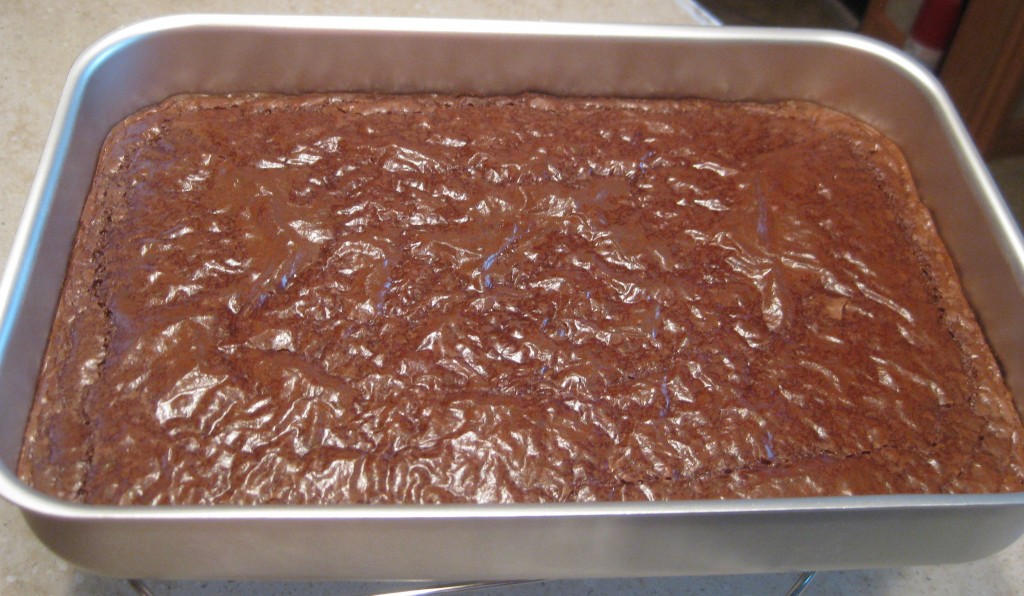
Fifth step – bake the brownies at a temperature 25 degrees lower than called for in the recipe and for eight minutes less than the recipe. I decided I would rather add time than have burned brownies.
Sixth step – stick a toothpick in them. It came out “mostly clean” which means they are done!
Seventh step – let them cool and then try one. I thought they were yummy. Tom thought they could be better (but he would find a way to improve on anyone’s cooking or baking – that’s the engineer in him). He will probably be willing to eat them anyway.
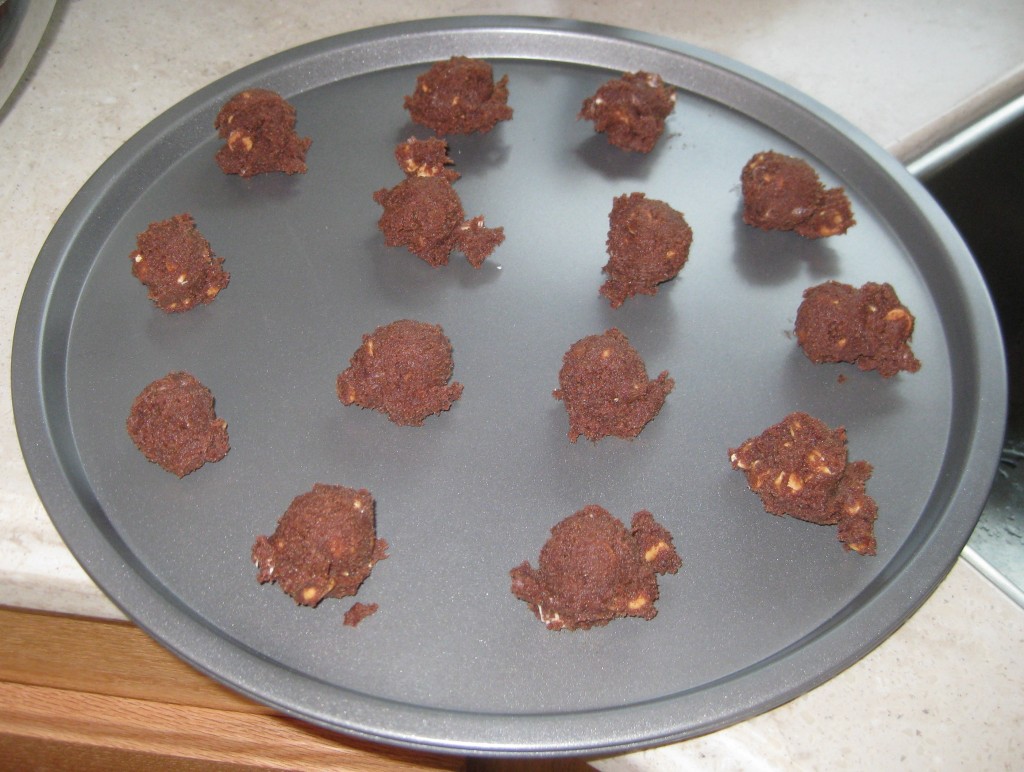
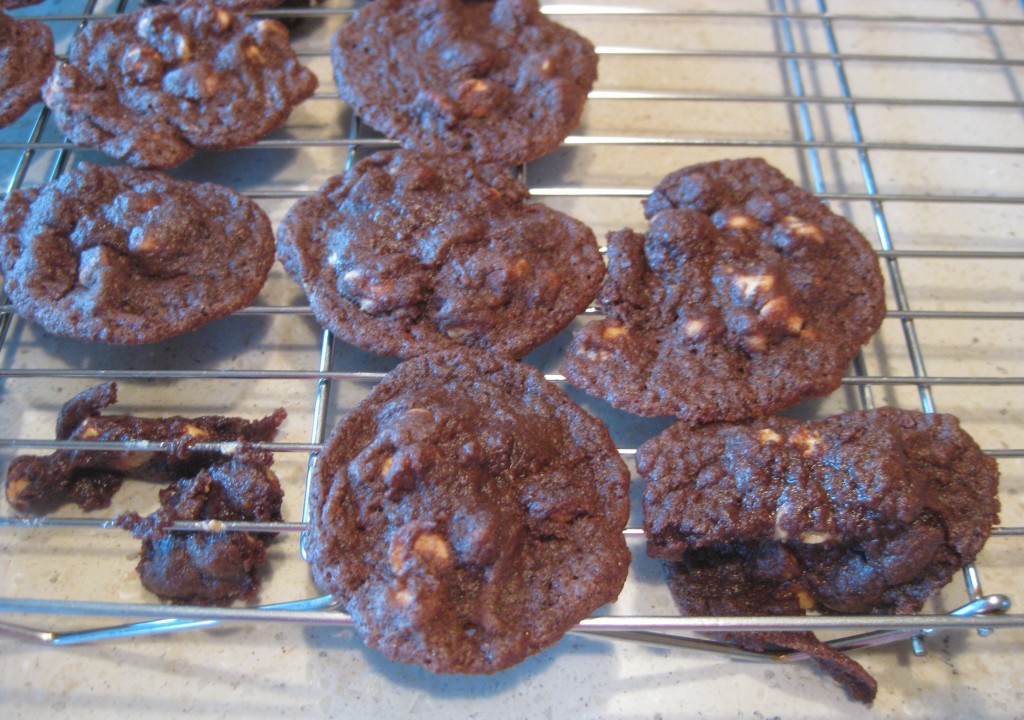
After success with the brownies, I tried something a little more complicated – cookies. I have always used insulated cookie trays but they wouldn’t fit in the convection oven, so I had to find some round ones that would fit. First time for those too.
Using the same rules, I lowered the temperature 25 degrees from the recipe, although I did use the same time. The first cookie sheet turned out to be a runny, half-baked mess. So I turned up the temp 10 degrees. The second sheet was better but still not quite right. So I added a minute to the time and the third sheet was perfect. Even Tom thought they looked good, but he preferred the half-baked ones – go figure.