
When Tom and I are doing living history at a national park site, he is always carrying a haversack. Specifically, the haversack which is period appropriate for a British soldier in the 1700’s. Wikipedia has a good article on the history of haversacks. Generally, it is a bag carried by a soldier used for holding personal goods, such as food. It is differentiated from a backpack because a haversack only has one strap.
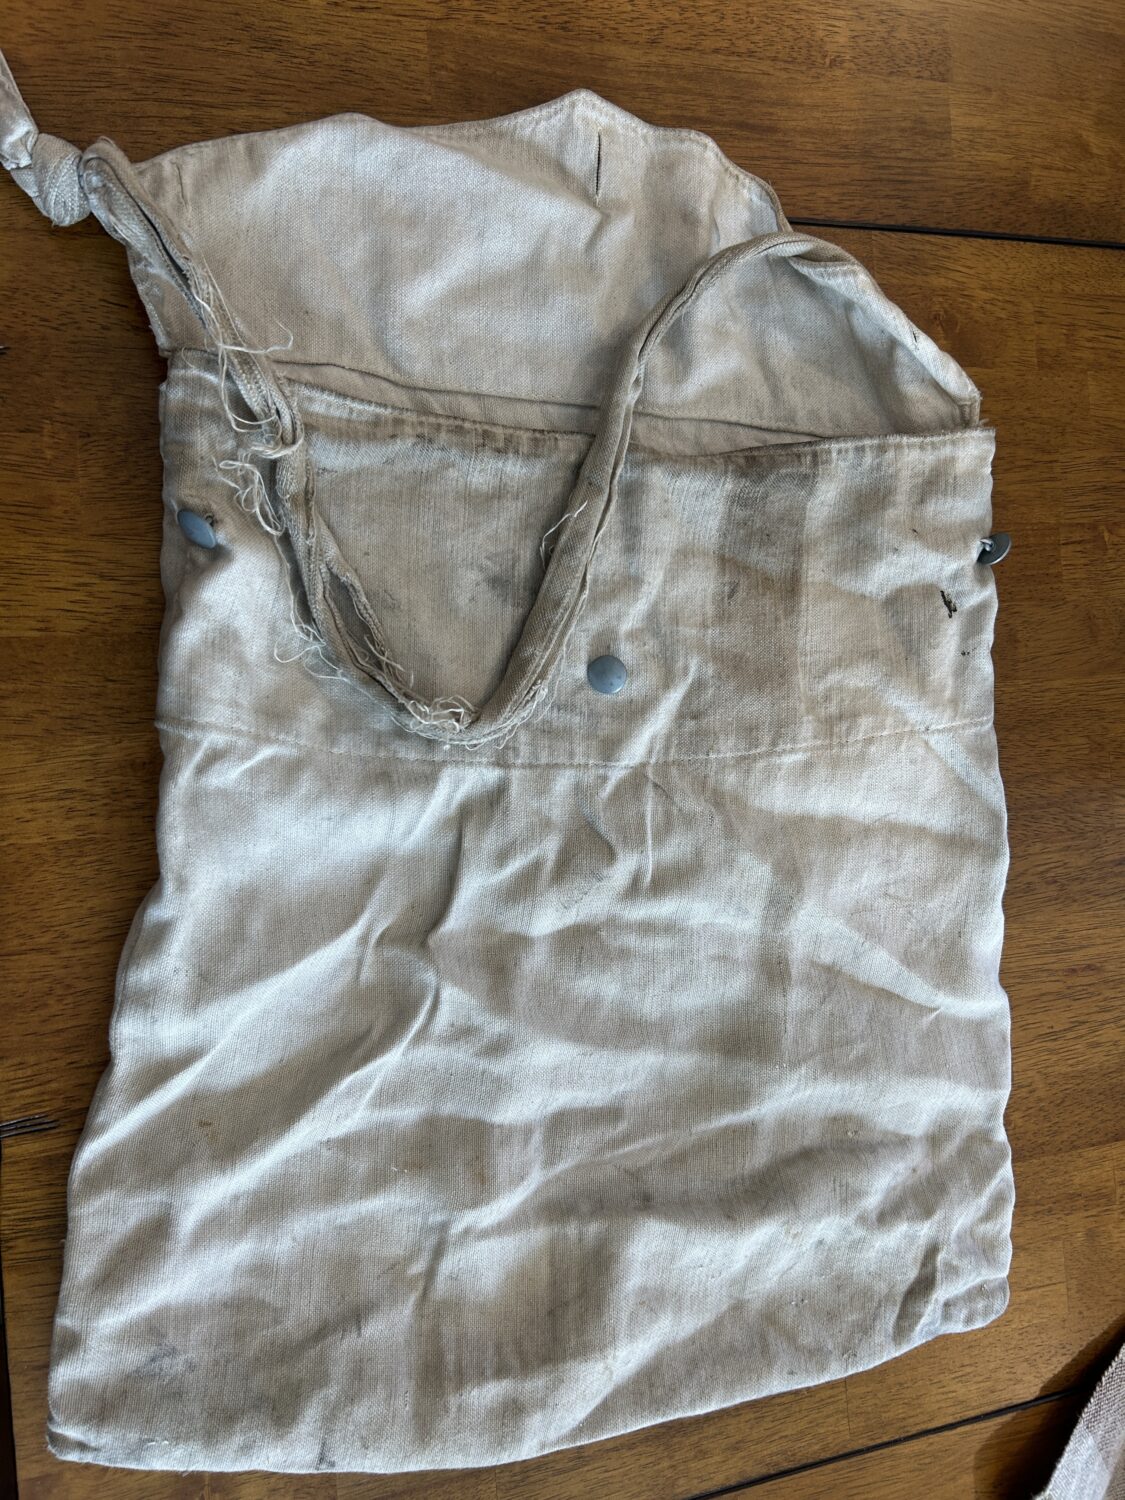
Tom bought a linen haversack, suitable for 18th century living history. He uses it so much and carries so much in it, that it is looking pretty scruffy. When I learned how to weave, I decided to make him another haversack. I bought the linen yarn – and then did nothing with it. During Covid, I tried weaving with linen and it was such a disaster that I didn’t think I would do it again. But linen yarn is expensive and I didn’t want to waste the yarn I had already bought.
So, last summer, I decided to try weaving the material for a haversack. I already had the worksheet where I had done the calculations for weaving. And I now had five years more weaving experience. Surely I could do a few yards of plain weave linen material. Volunteer April and Ranger Sam helped me get the loom warped with the linen and then we started weaving. Ranger Sam did a lot of the weaving.

We wove one 48″ section in undyed linen for the body of the haversack. Then we wove another 40″ section for the strap. Ranger Sam and I wove the rest of the material in 1″ stripes with two subtle, naturally dyed colors alternating with the undyed linen. I was very pleased with how the fabric turned out. I washed it and hung it up as a talking point in my textile room at Cumberland Gap National Historical Park.
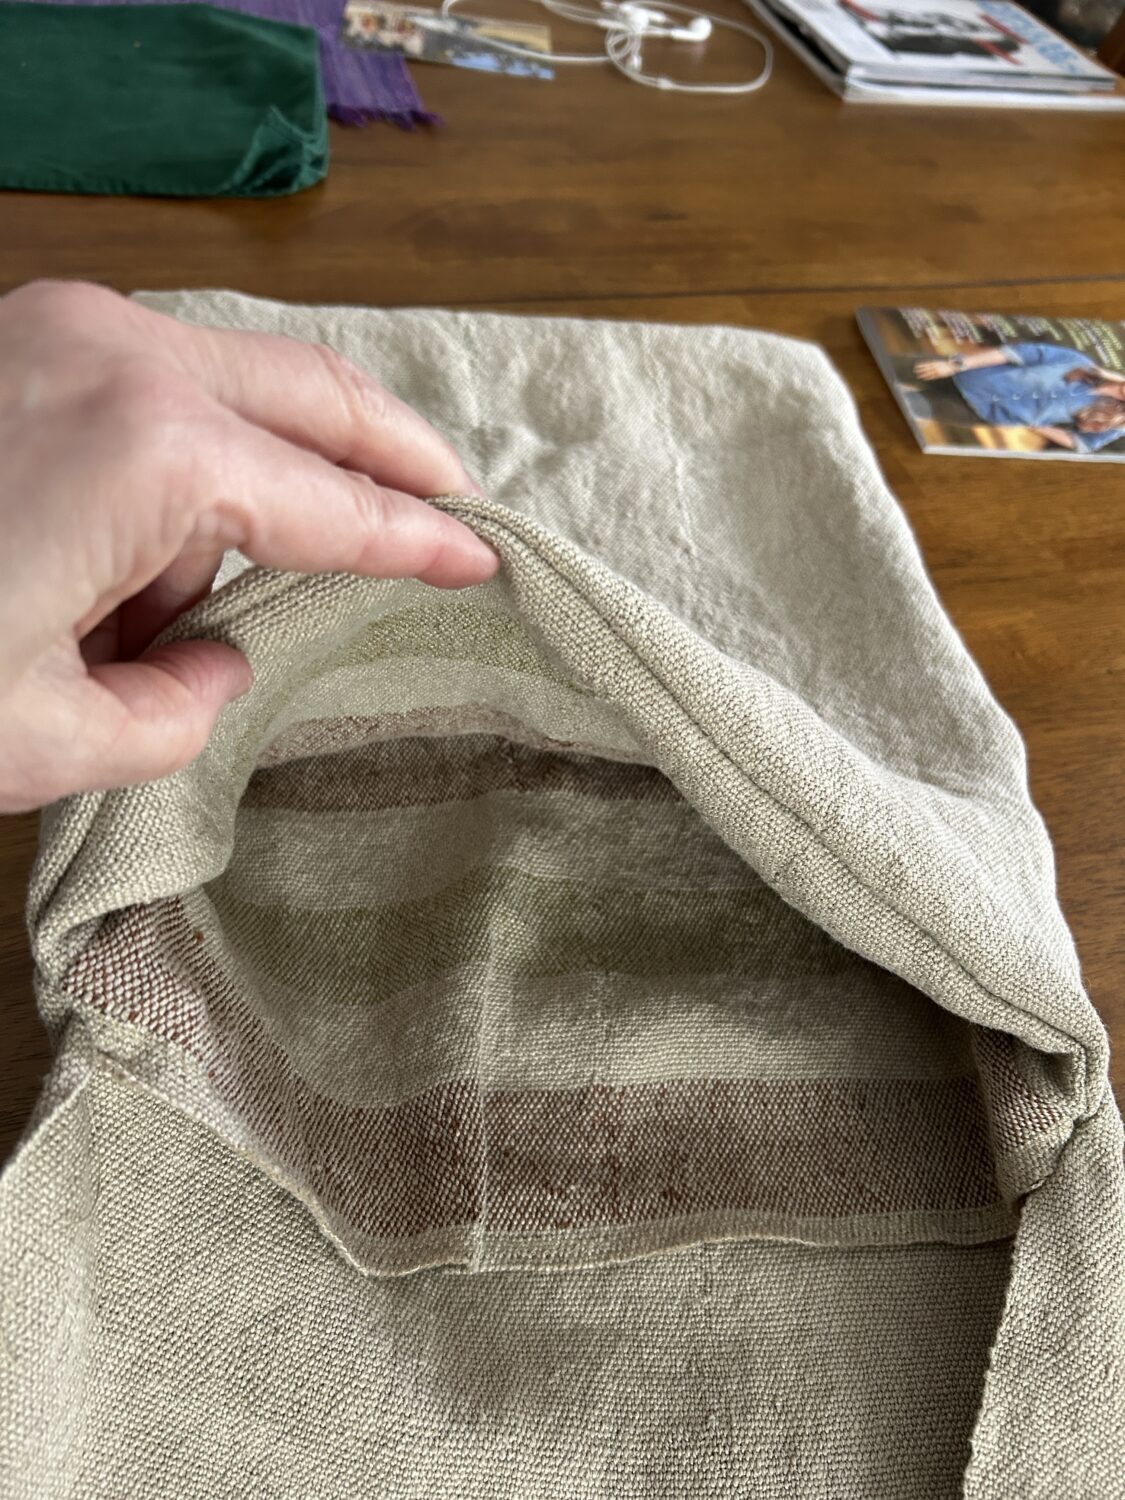
The problem with handweaving material is that you don’t want to cut it apart. At least I didn’t. It looks so lovely as a single piece of cloth. It took me until last week to finally get up the courage to begin sewing the haversack. First, I measured and marked the dimensions on the cloth. The haversack is 18″ deep and 15″ wide. The strap is 4″ wide and 38″ long. I decided to use the striped fabric as a lining in the bag to make it stronger. And that gave me enough left over to line the flap with the plain fabric.
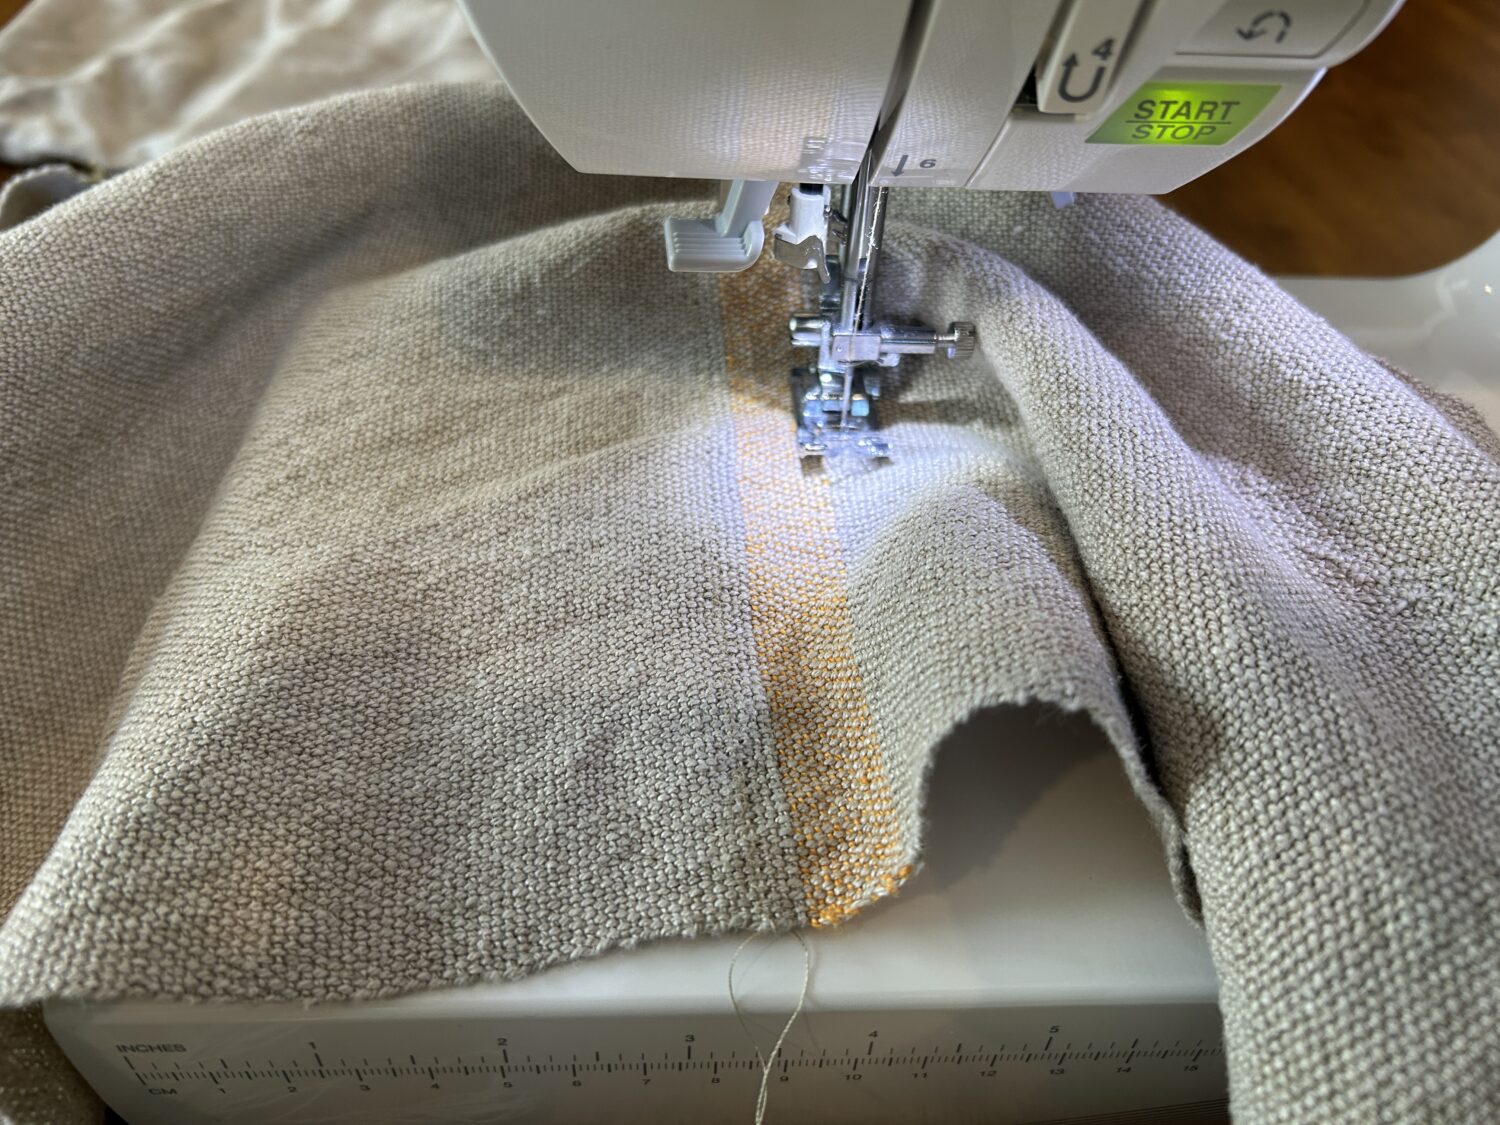
I sewed a zigzag stitch across all of the ends that would be raw ends before I cut it apart. Then I took scissors in hand, took a deep breath, and started cutting. As I sewed the seams, I zigzagged along the seams again to keep them from unraveling later. I sewed in the lining and then added the lining for the flap. The strap got stitched on last. After a good ironing and some topstitching I was done, except for a button and buttonhole.

Tom’s old haversack has three buttons. That seemed like overkill. We decided to only use one button at the tip of the flap. Tom thought he might have an extra pewter button lying around. Turns out he didn’t, but he let me use one attached to another bag. I didn’t want to buy a whole packet of buttons when I only needed one.
Making a buttonhole required reading the manual for my sewing machine. After a couple of practice runs, I was able to make a really nice buttonhole that was the exact size I needed. With that, the haversack was done.
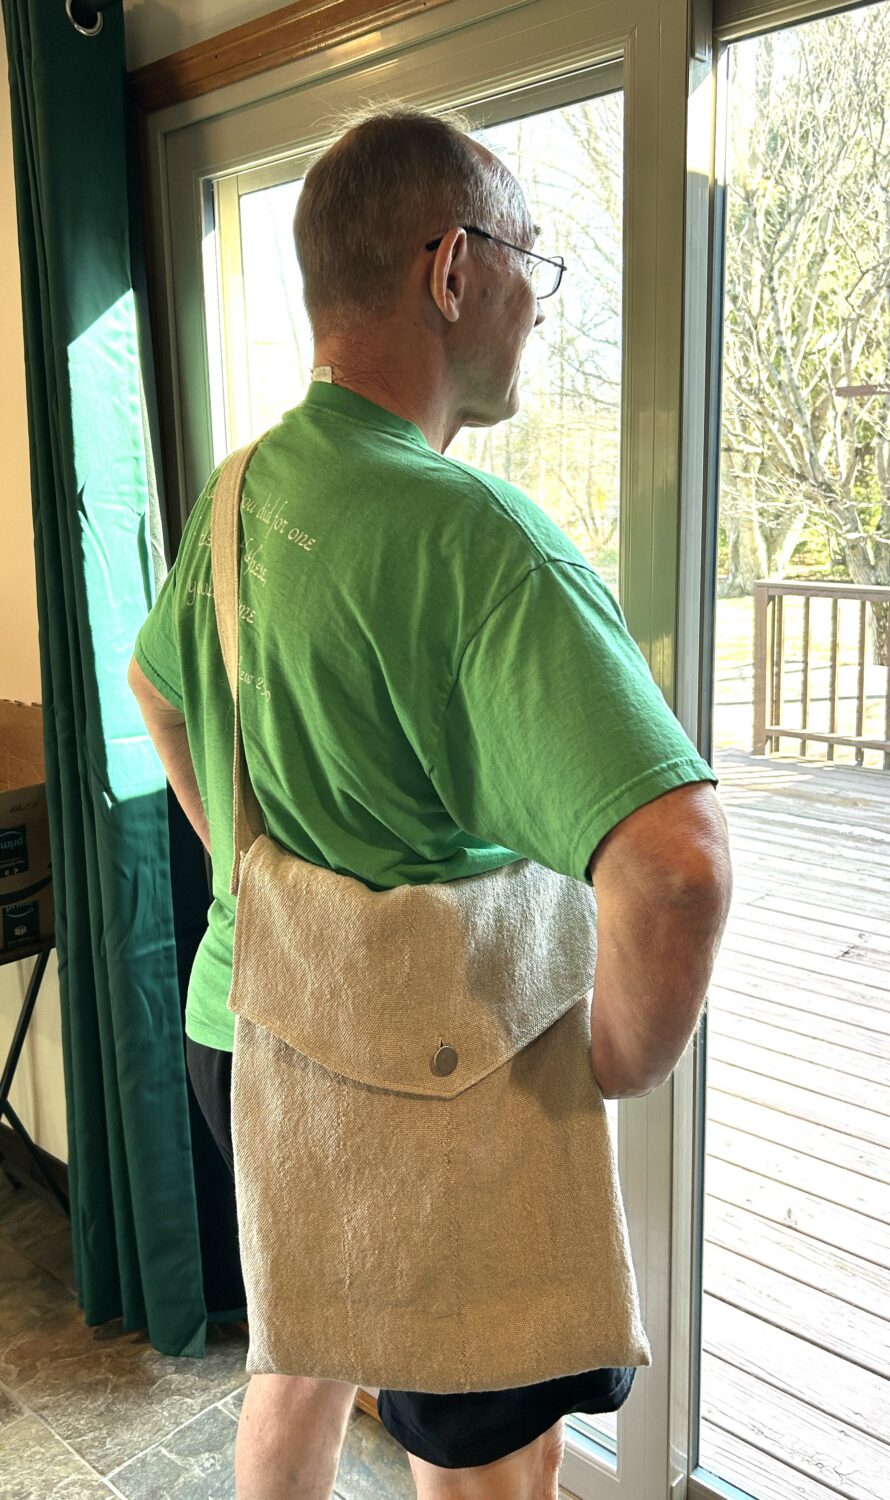
I am very pleased with how the haversack turned out. In fact, it is so nice that I hesitate to let Tom use it. Maybe I will keep it as a talking point for the summer. By next year, I’ll be ready to let him use it. Probably.