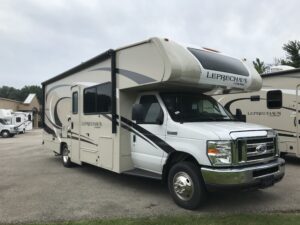
 Last week Tom and I spent an afternoon winterizing the RV. We never winterized the New Horizons 5th wheel because we lived in that full-time for 6+ years. When our previous RV, the little Roadtrek, needed to be winterized, we had an RV service do it. But the Leprechaun came with very good step-by-step instructions for winterizing, so we decided to try doing it ourselves.
Winterizing is preparing your RV for below freezing temperatures. You put RV anitfreeze in the pipes of the RV so they won’t burst when the temperature gets cold. Because Tom and I decided not to take any more RV trips in November and December, we needed to prepare the RV for the freezing temperatures.

The first step in winterizing is dumping the gray and black tanks. We did this after our last trip to Pennsylvania, so that was an easy one to complete. Tom opened the valves to be sure there wasn’t any lingering water or waste in the tanks.
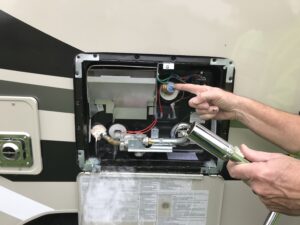
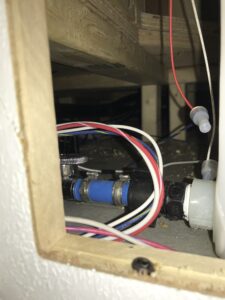
The second step was the most difficult and time-consuming one for us. We read through all the instructions and made sure we knew where everything was. We had to locate the water heater plug, the pressure relief valve, the low point drains, and the bypass valves. This took us a good hour because it is a new-to-us RV and we had to find all these things. Most of the stuff only required opening a panel outside, but the water heater bypass was located inside. We had to take off a wooden panel to get to it. The low point drains were located in a panel inside one of the outside storage areas.

After a lot of consultation with each other, the Leprechaun RV manual (online) and looking at pictures on the internet, we finally located everything and felt confident we could proceed. Step 3 was draining the hot water tank. All we had to do was open the drain and wait. But we didn’t have the right size ratchet socket to open the drain. Tom tried using just a wrench, but the location made a ratchet necessary. So we had to make a quick trip to Ace Hardware to pick up the right size ratchet socket.
But once we got back from Ace, everything proceeded very quickly. We drained the hot water tank and moved on to the next step, which was opening the low point drains. When we were satisfied there wasn’t any extra water in any of the tanks, we proceeded to Step 5, turning all the bypass valves.

When you are putting RV antifreeze into the lines, you don’t want to accidently fill up the hot water tank or the 50 gallon fresh water tank. We only bought 3 gallons of antifreeze! So turning the bypass valves is very important. This allows the antifreeze to fill the pipes without filling the tanks.
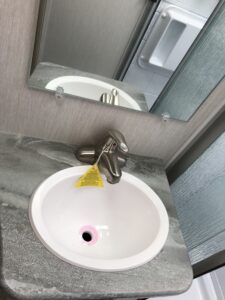
Step 6 was, finally, hooking up the antifreeze and filling the pipes. Tom attached a short hose to the water intake, putting the other end of the hose into the jug of antifreeze. Then he turned on the water pump, which started sucking the antifreeze into the lines. I went inside and turned on all the faucets, one at a time, filling the hot and cold water lines with antifreeze. I turned on the faucet until pink antifreeze ran out and then turned the faucet off. I did this at the sink in the bathroom, the shower, the toilet, and the kitchen sink. Then we did it for the outside shower.
In step 7, the final step, I poured antifreeze in the toilet to protect the black tank, making sure I coated the valve. Then I poured antifreeze in the shower and sink drains to fill the traps under the sinks. And we were done!
Winterizing the RV was easy once we found everything and got the right tools. It only took 2 gallons of RV antifreeze, so we have a gallon left over for next time. We are still hoping to go to Georgia in January, so we will unwinterize at that time. But, in the meantime, we know the RV pipes are protected as the weather gets cold.
