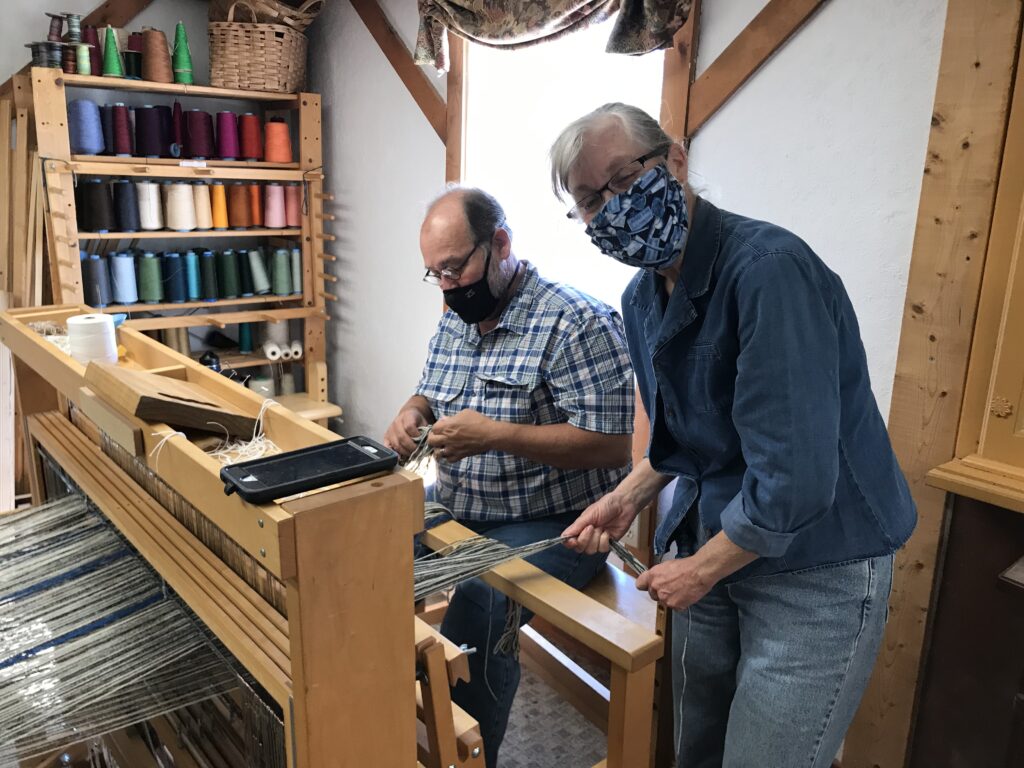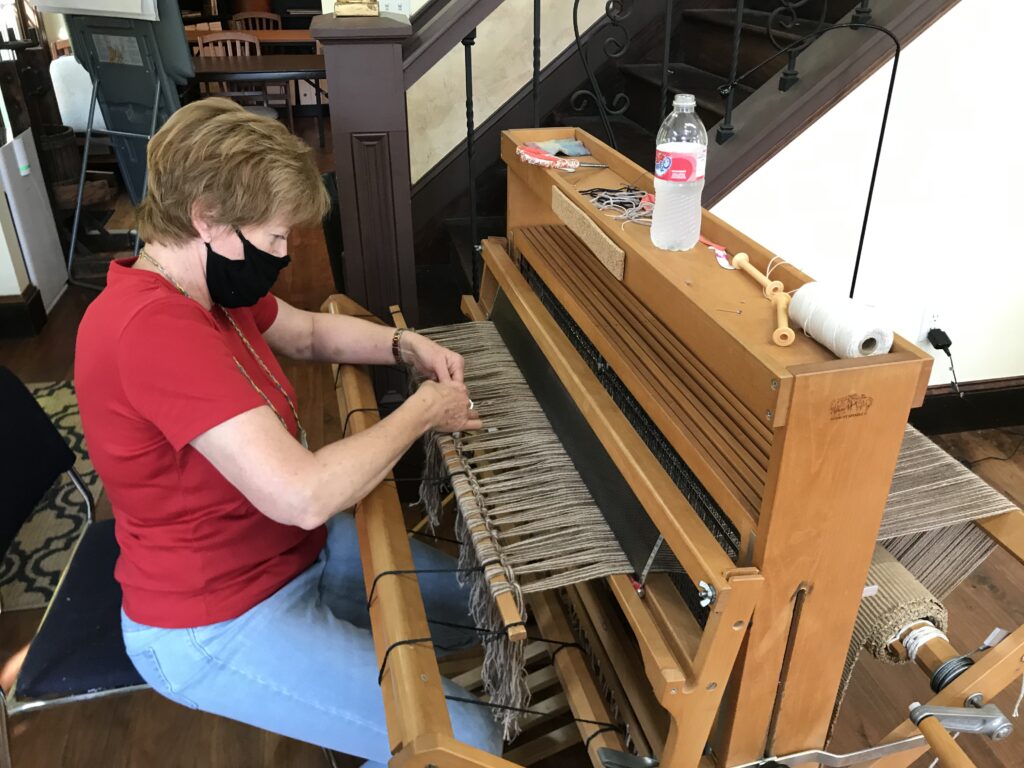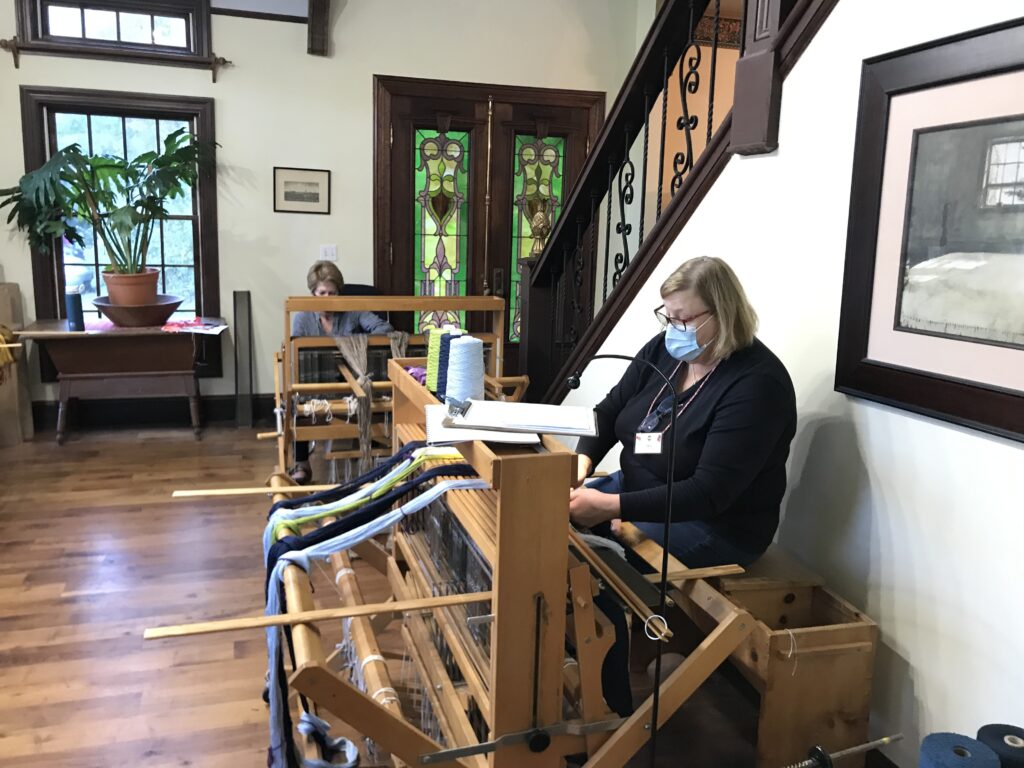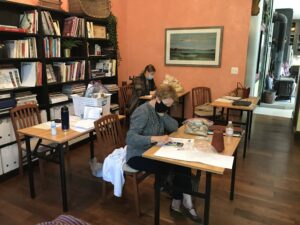
A couple of weeks ago I took a class in Double Weave at Red Stone Glen Fiber Arts Studio in Pennsylvania. It was a wonderful class. I learned a bunch of stuff and got to spend four days with other weavers.
The Double Weave Class was taught by Tom Knisely, who taught the Beginning Weaving class I took last year. I like him because he is so laid back. No mistake is ever a big deal – every mistake is a learning opportunity. Tom says he can fix every mistake because he has made every mistake.
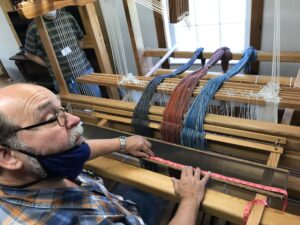
Double Weave is making something that is two-layered on a loom. You can make something that is different on each side or make something that is twice the width of your warp. The class was learning to make a double width blanket, which can be done on a four-shaft loom. The two-layered cloth has to be done on an eight shaft (or greater) loom.
There were six of us in the class. We started out with some instruction in the principles of double weave. The biggest thing is learning to do the right warping. We were doing plain weave, which usually means even shafts up while odd shafts down and then reversed. I’m not taking a lot of time to explain this because I don’t want the non-weavers’ eyes to cross. In double weave, you weave one layer on shafts 1 and 3 and another layer with shafts 2 and 4. So you have to warp your pattern doubled. If I usually have eight ends per inch, then double weave requires 16 ends per inch.
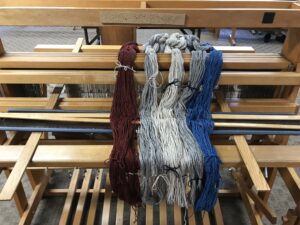
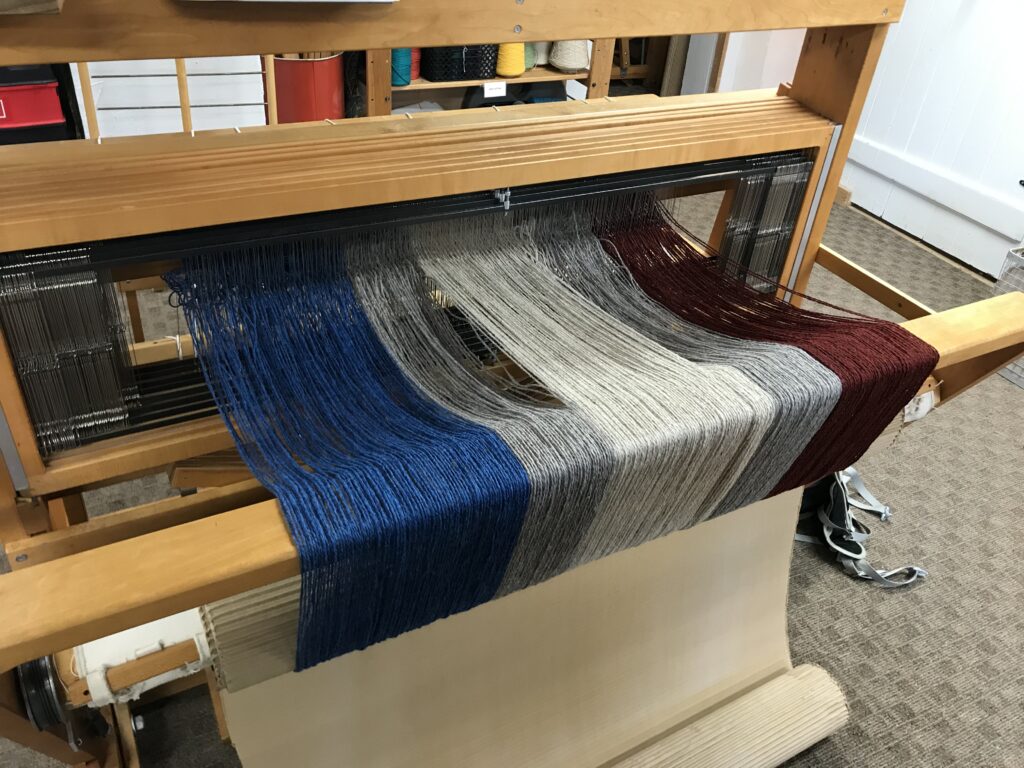
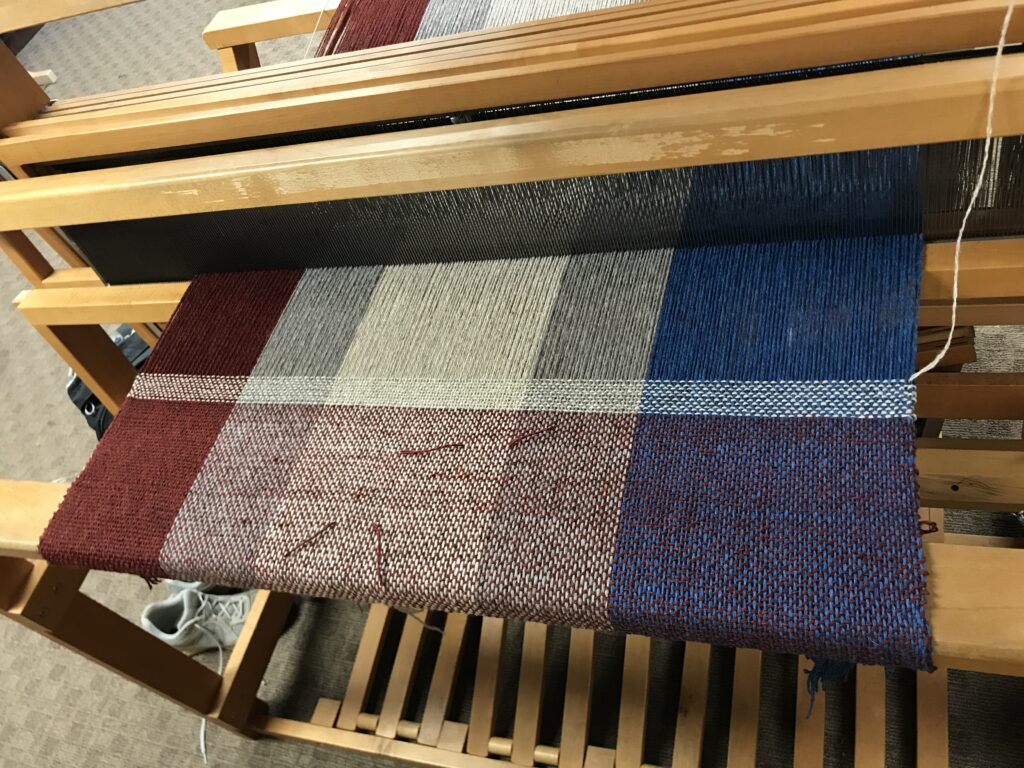
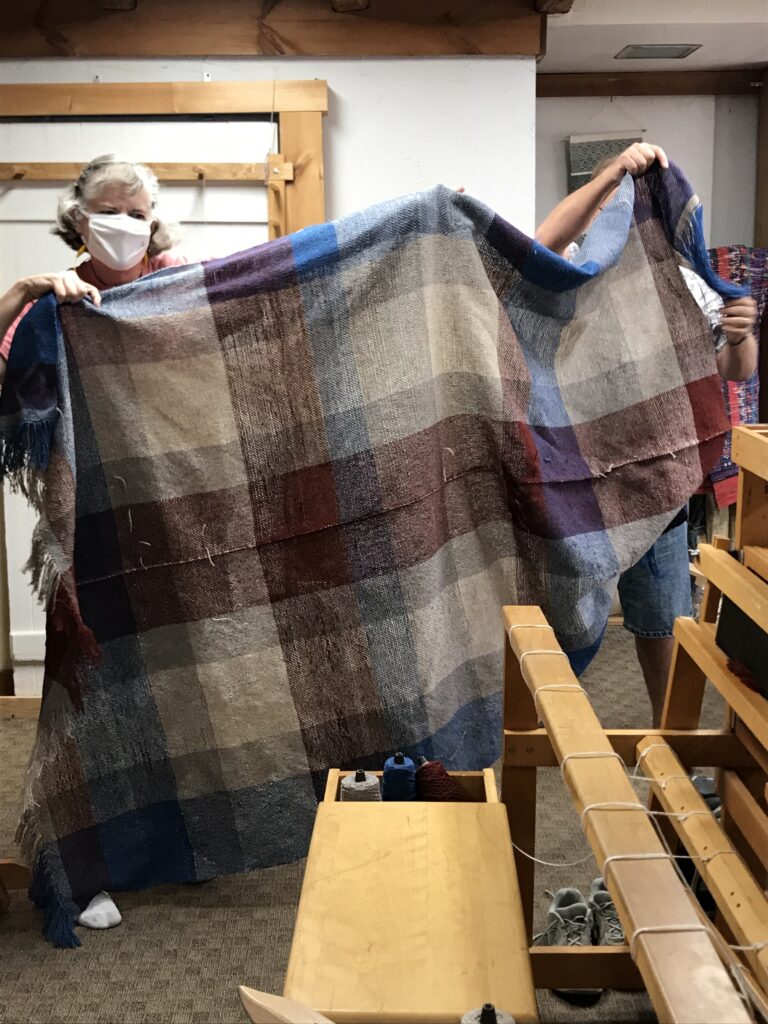
All of us in the class were experienced weavers, so we caught on to the warping pretty easily. Because we were doing plain weave, the simplest kind of weaving, we didn’t have to get too complicated. After an hour of talking about the concepts, we each designed our own blanket. I wanted to do big blocks of color. So I warped on eight inches of blue, four of gray, eight of oatmeal, four of gray, and then six of rust. If you are counting, that is 30 inches. But, because I warped it double, I would end up with a blanket that is 60 inches wide.
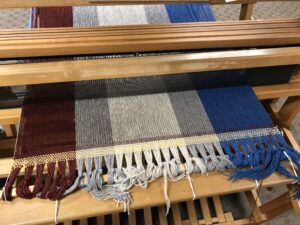
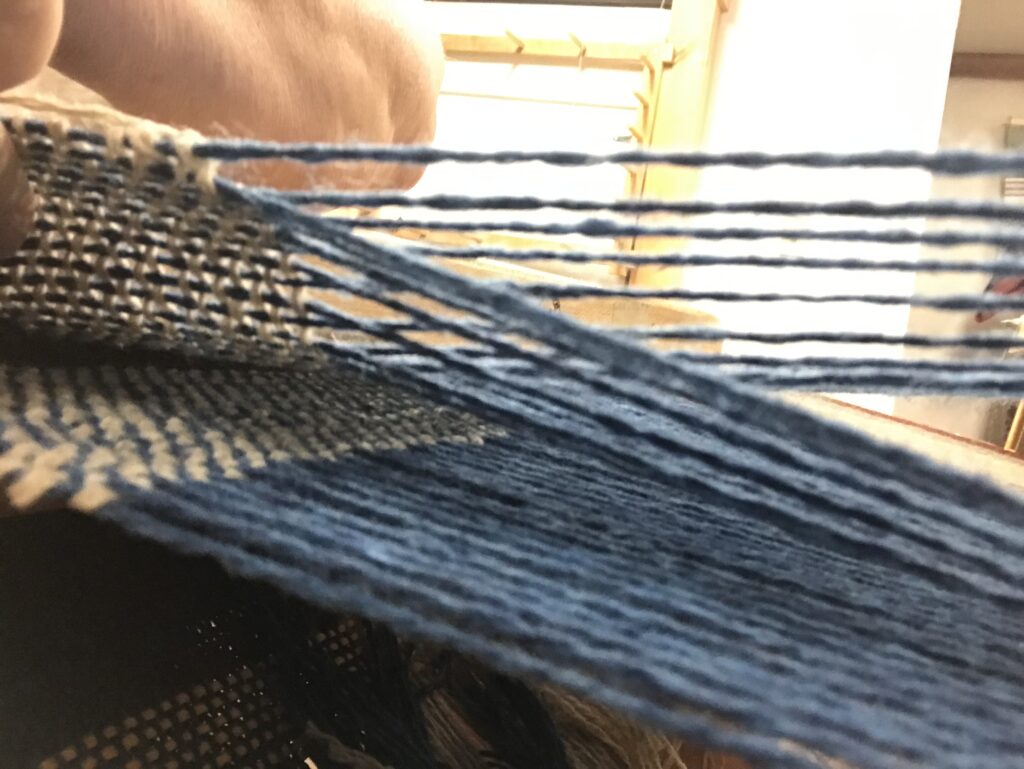
After warping, the weaving took a little getting used to. You do double weave by lifting shaft 1 and throwing the shuttle across. Then you lift shafts 1, 3, and 4 and throw the shuttle back. That creates one thread across the 60 inch width. Coming back you lift shafts 1, 2, and 3 for the bottom layer and then shaft 3 for the top layer. Then you do it over and over until you get the length you want.
It sounds complicated but doing it wasn’t hard. After a while I got in the rhythm and knew where I was in the pattern. The hardest part was not being able to see the bottom layer. When I am weaving I can correct tension or skipped string mistake easily because I can see it. But the bottom layer was under everything and I couldn’t always tell if I got the tension right. I had to trust the feel of the shuttle.
The scariest part was taking the blanket off the loom after I finished weaving. I was afraid that I got a row or two wrong and it wouldn’t open up! But I opened it up without a problem. Whew! One other woman had some skipped strings that caused the two layers to stick together. Tom just took his scissors and snipped them apart, and then told us how to weave in the ends and “ooch” the threads so you couldn’t see the mistake. “Ooch” is Tom’s technical term for fixing mistakes after you are done weaving. I did some “ooching” to fix tension mistakes on my bottom layer but they weren’t serious.
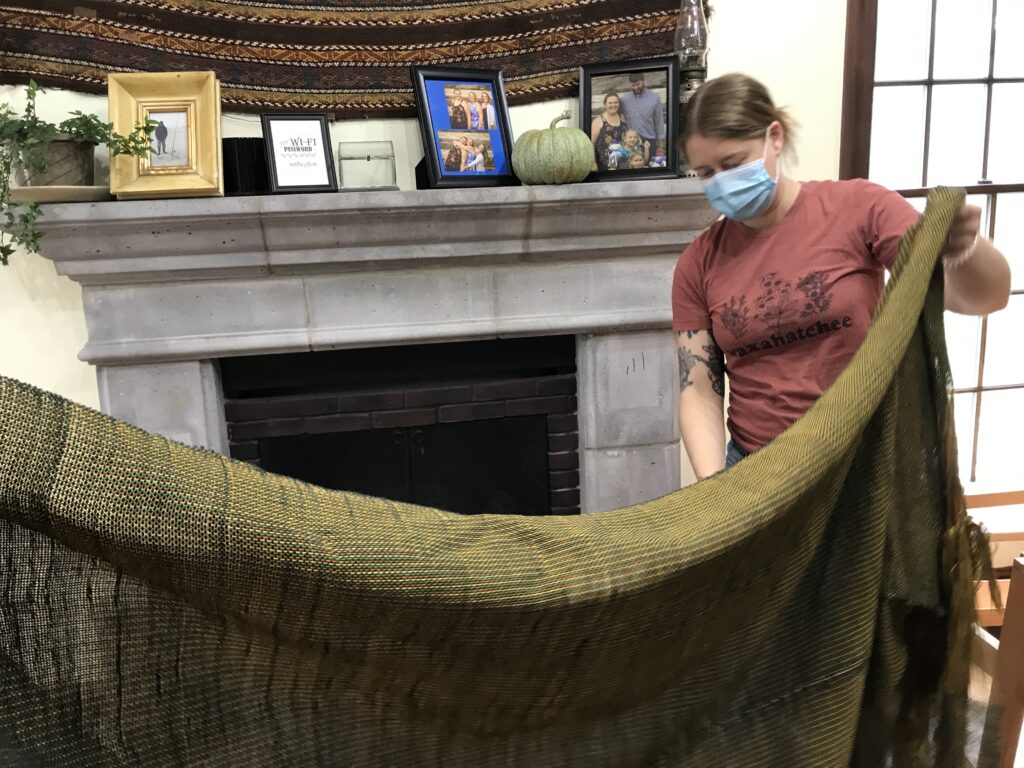
I took some time to make a twisted fringe I was still at class, but the rest of the finishing had to wait until we got back to Ohio. When we got back home, I hemmed the top of the blanket and then washed it. While it was still damp I “fulled” it by brushing it lightly with a nylon brush. This lifts the fabric and makes it look fuller. Then I hung it up to dry.
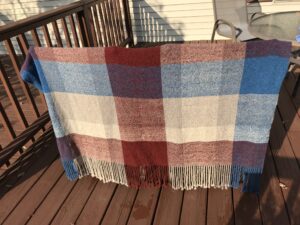 I am very pleased with my finished double weave blanket. I look forward to trying double weave on my little loom, although the widest fabric I can make will be 36 inches. Tom thinks this is a good reason for me to get a bigger loom, but we will see.

