
Didn’t get enough warping yesterday? Today I continue to go on (and on) about warping the Macomber Loom.
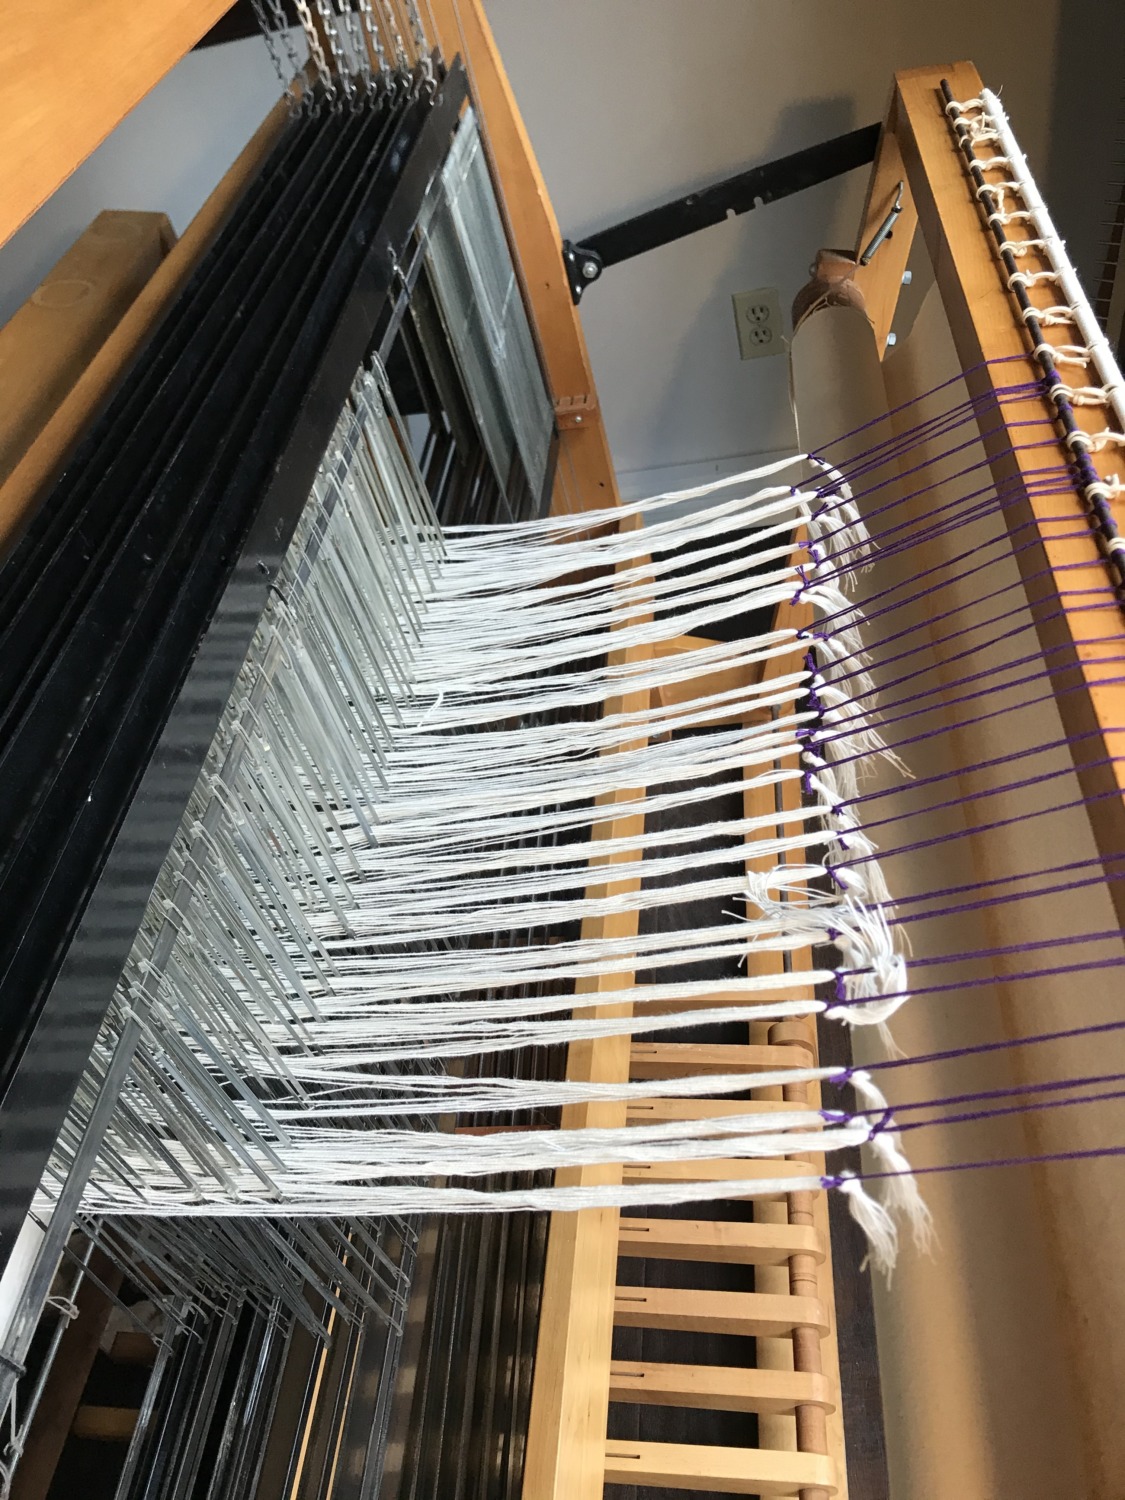
Once I had the reed sleyed and the strings through the heddles I could tie on to the warping beam. Then Tom helped me wind the warp onto the beam. Tom had never wound the warp before and I appreciated his help. The loom is so big that I was glad there were two of us.
Unfortunately I forgot to tell Tom not to lean on the reed. The reed rests in a relaxed position so it will move forward if there is a tangle or too much tension on the line. Tom started leaning on it and I didn’t notice until one of the warp strings snapped. That is okay, I know how to repair a broken warp string.
We used plastic slats from an old venetian blind to separate the warp. Usually I use canvas but I didn’t have any wide enough to use with this loom. I think I might invest in more canvas before I warp the loom again. The slats didn’t really give me the consistent wind-on that I wanted. The tension in the threads varies a lot.
Once we got the warp wound on, I went back to the front of the loom and tied the threads on to the cloth apron. Another easy part once all the rest is done.
The final step in warping the loom was tying up the treadles. The treadles are the pedals that you push down to make the shafts rise up. In order to do this on a Macomber loom, you have to lie on the floor and stick metal hooks through tiny holes. Once I got this done I was finished warping the loom and could start weaving.
I decided to start with some sampling to see to see how the loom responded and immediately found a serious problem. The hooks attaching the treadles to the shafts wouldn’t stay in. After just one pass through the pattern, I had five hooks (out of 40) lying on the floor. Because I have to get on the floor to put them in again, weaving was going to take a long time if they kept falling out.
I belong to a Macomber Loom owners group on Facebook, so I got on their page and asked how to keep the wire hooks in the holes. I immediately got several different suggestions on how to fix it. Macomber went to “superhooks” shortly after my loom. Superhooks hook over the shaft lifter instead of fitting in the hole and stay on better. Another person suggested using Texsolv cord. My Schacht loom uses this cord to tie up the treadles so I decided to go with that.
Until I could buy and start using the Texsolv tie-ups, however, another suggestion was using masking tape to help the hooks stay in the holes. Tom lay on the floor and I handed him pieces of tape. Together we got the hooks secured and I’ve only had one fall out since. A good temporary solution.
Once I started weaving again, I got frustrated by the tiny shed (where you pass the yarn through the threads). I turned to the Facebook group again, and one experienced Macomber owner pointed out the two slots for the beater bar. I had the beater bar in the slot that made the beater too high. Tom and I lowered the beater bar into the other slot and suddenly the shed was the right height.
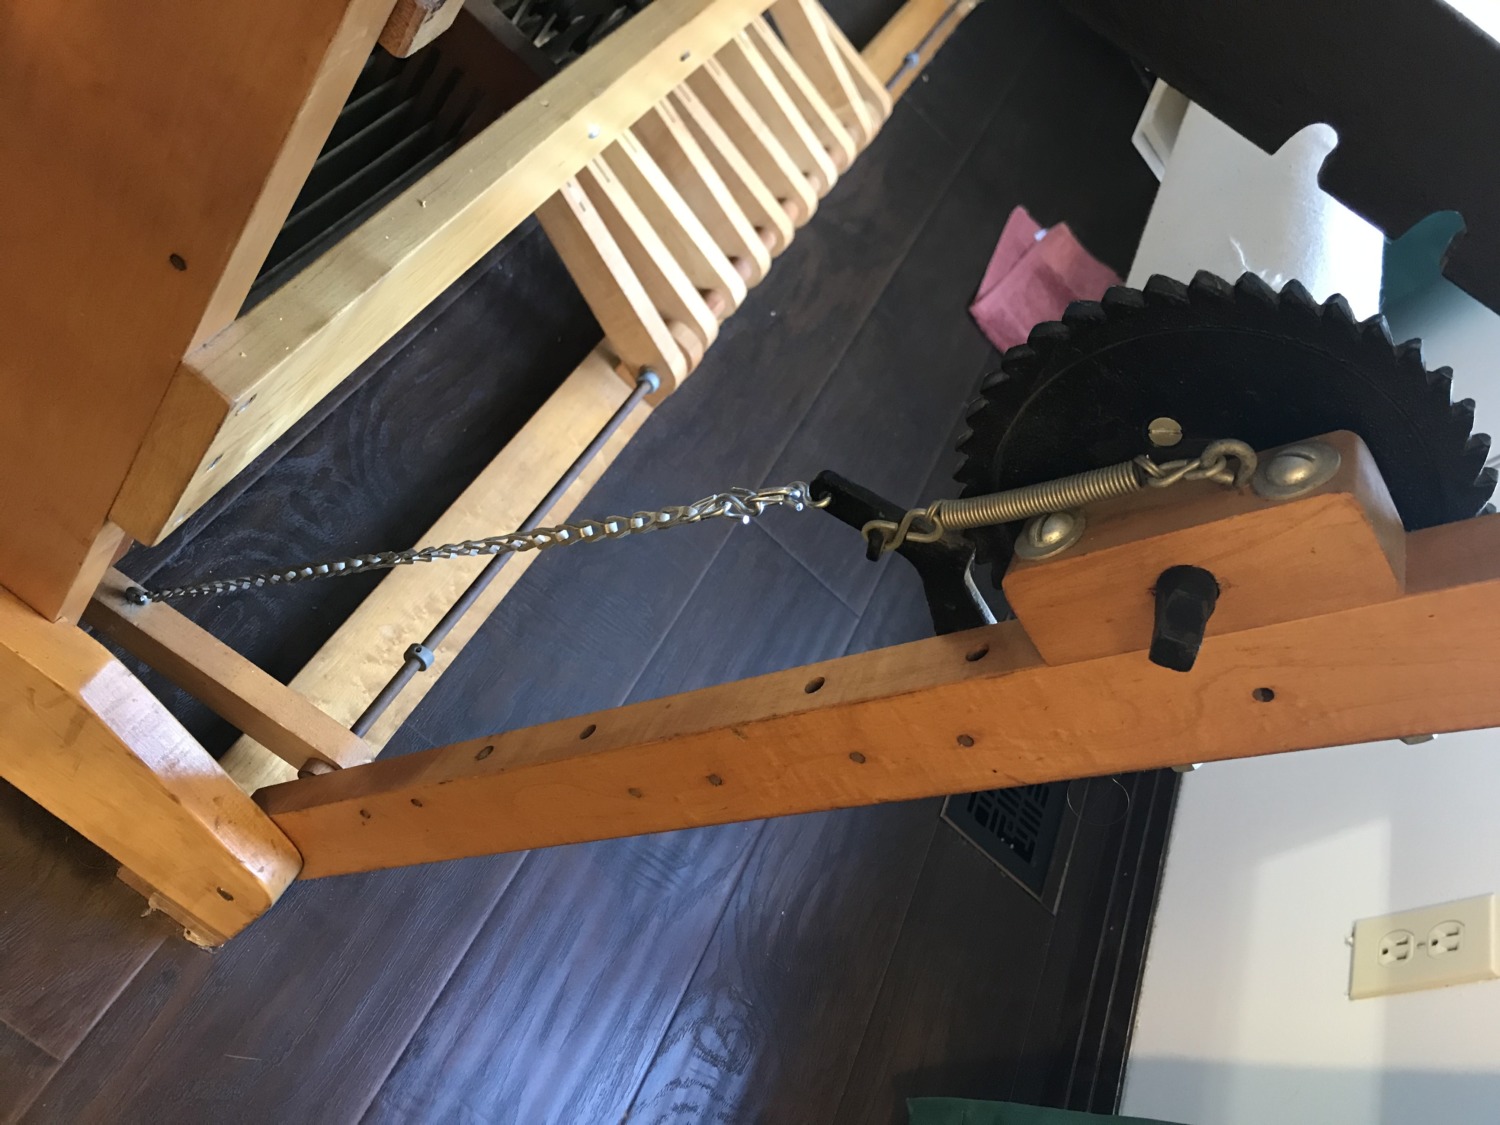
The brake, which allows you to advance the warp when you have been weaving for a while, wasn’t releasing properly. Tom took a hook off it, making it a better length and now I can advance the warp. I also have to make sure the ratchet is secure because it is a little loose and has fallen off a few times.
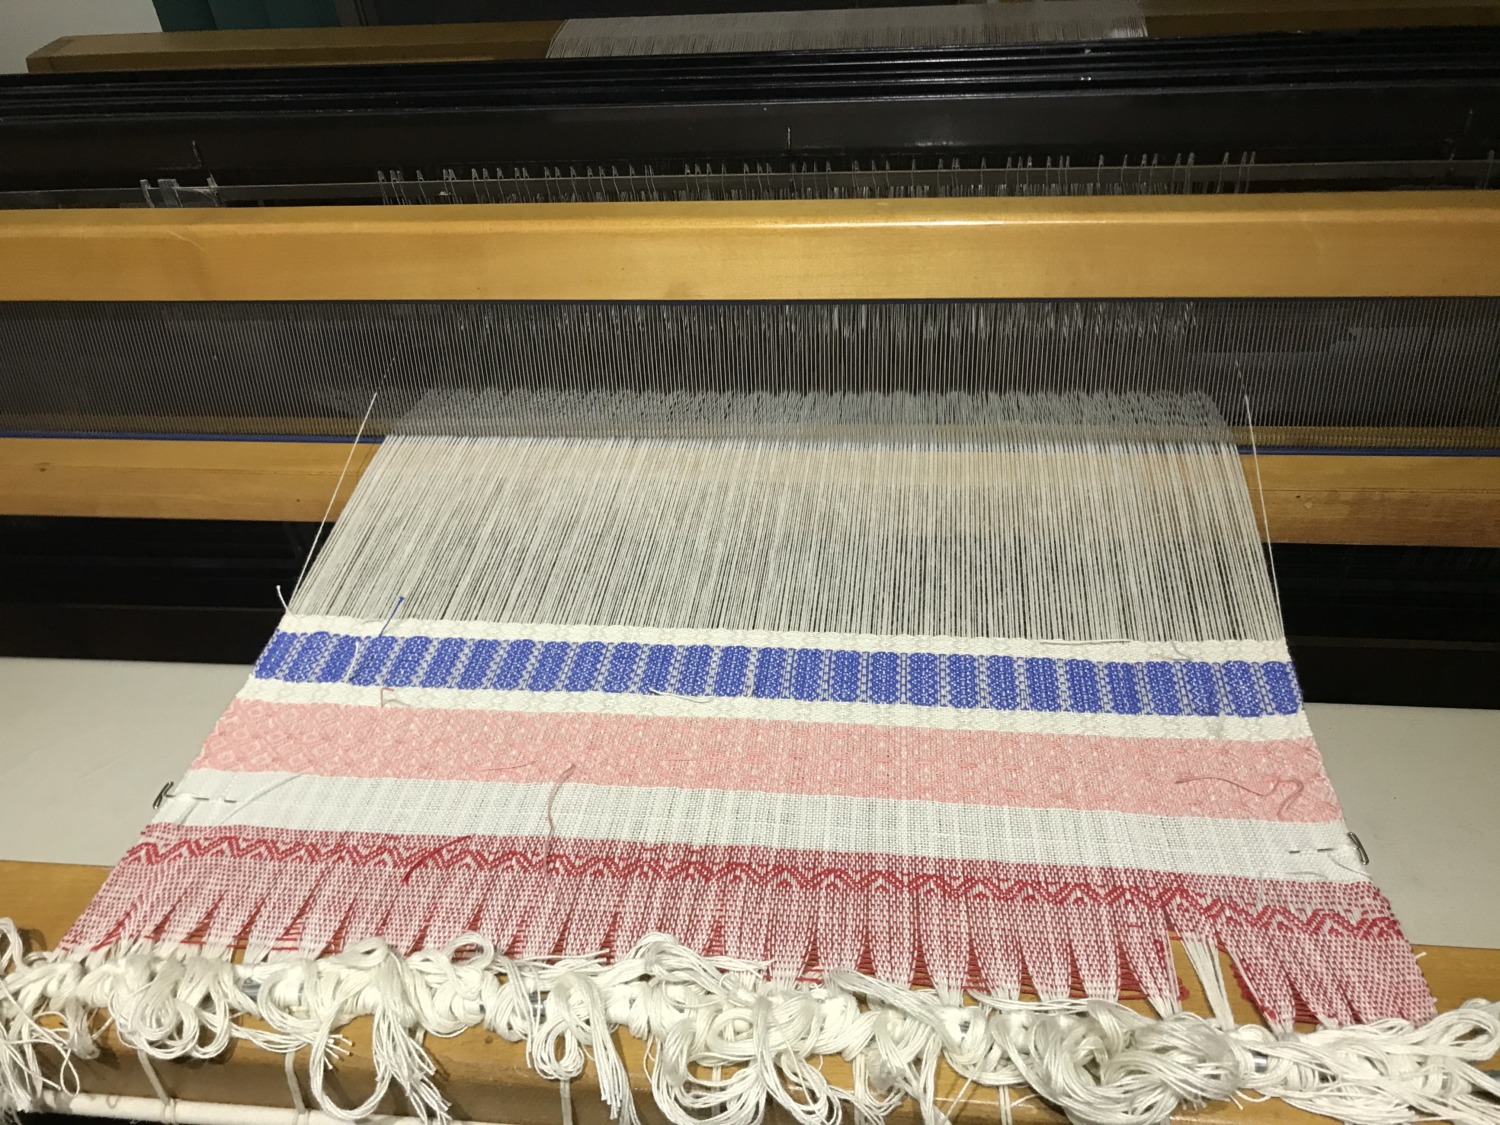
A final problem, one that we are still working on, is the height of the shafts. Some of the shafts are not rising high enough to give me a clear shed. It is worse when I am trying to do plain weave and these 13 towels don’t have much of that. The main pattern is “point twill” which is a diagonal with points. In other words, the pattern is basically diamond shaped. So I am going ahead with my weaving for now and we will fine-tune the loom as we go.
I am very thankful for Tom and his ability to deal with the mechanical problems on the loom. He says he would have made a great 19th century repairman. He has been very helpful and patient as I learn to use the loom and figure out needs to be adjusted.
Warping the loom has been time-consuming but also a learning experience. I am sure I will grow to love this loom as I get to know it better. I am looking forward to making some beautiful things on my big Macomber loom. This week I have enjoyed sitting at the loom and watching the snow fall outside.
