
Tom and I recently completed a joist insertion project that we had been saving for a time when we had several days at home. We have three decks around our house: a front deck and an upper and lower deck in the back. The lower deck in the back will be a big project, but the upper deck was something we could do in a couple of days.
All of the decks around the house are well built and sturdy. We don’t know exactly when they were built, but they are in pretty good shape and none of the wood is rotted or missing. However, Tom noticed the upper deck was a little bouncy. He concluded it was missing a joist in the middle of the deck.
The upper deck is 16 feet square. According to engineer Tom’s span charts, you should have a joist every 8 to 11 feet. Sixteen feet was obviously too long not to have a joist. So Tom decided to insert one into the existing deck. He did all the work and I helped by handing him tools.
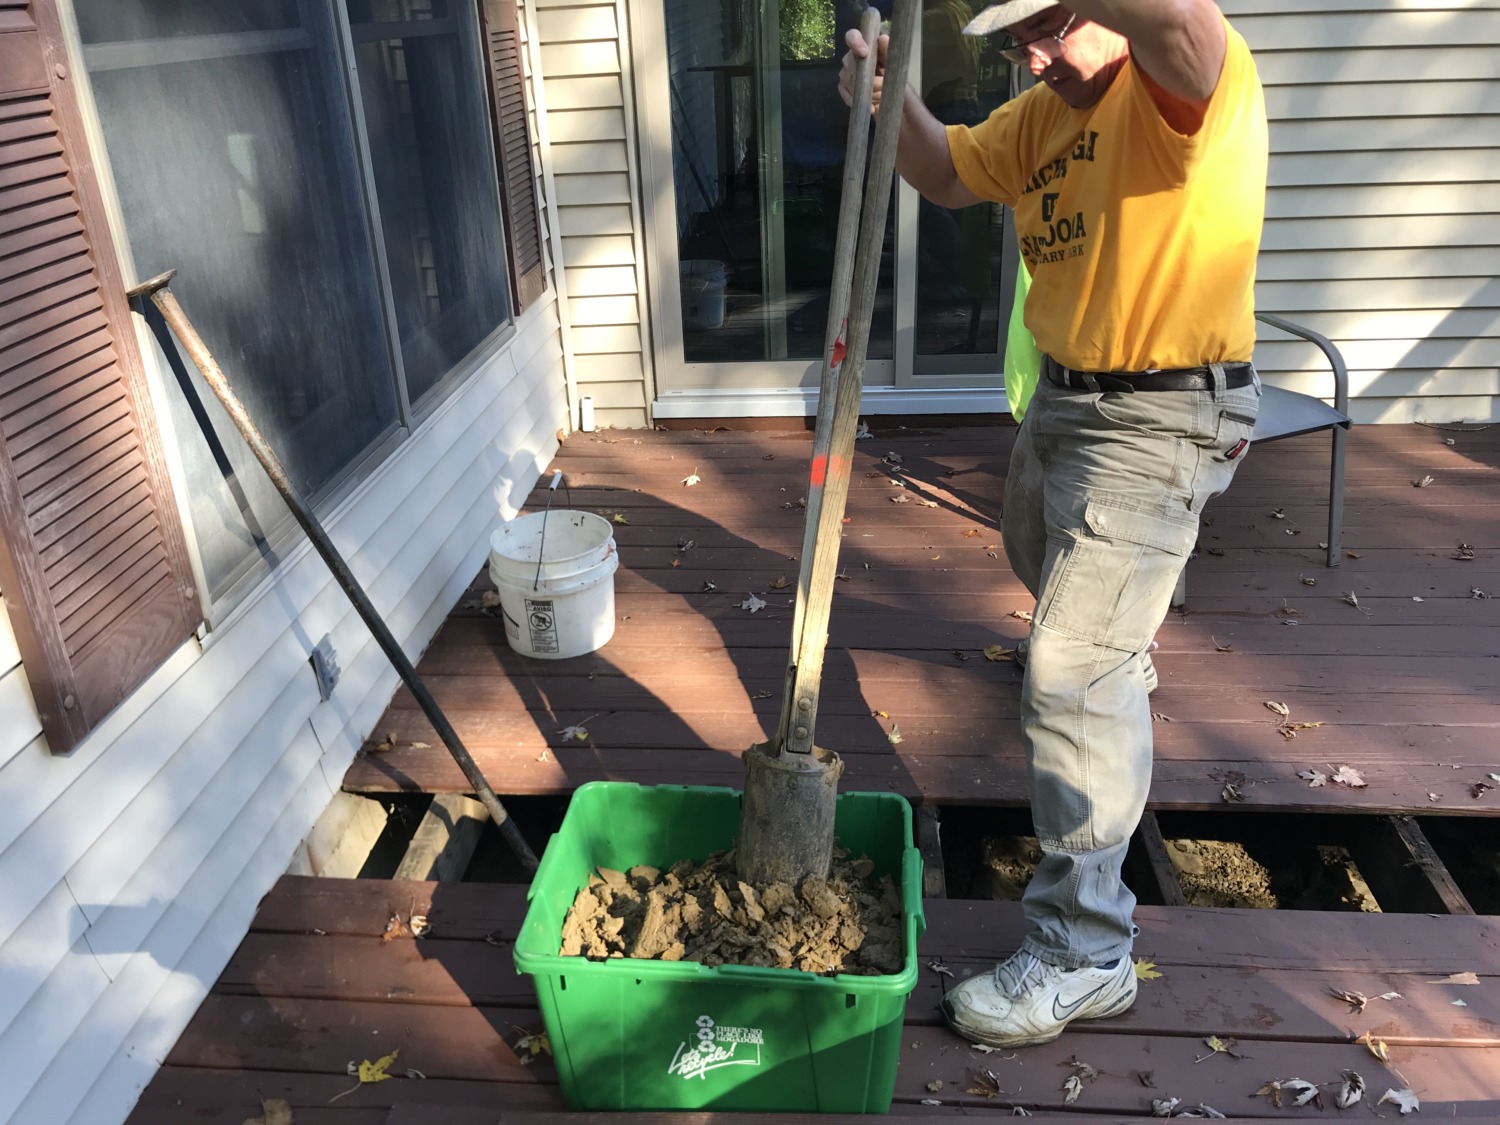
He removed two decking boards where he wanted to insert the joist. Then he dug post holes. This was the most time-consuming part of the job because he wanted them to be about 36 inches deep but he had a hard time fitting the posthole diggers in the narrow opening. After digging through a layer of topsoil, a layer of gravel, and then many inches of clay, he was ready.
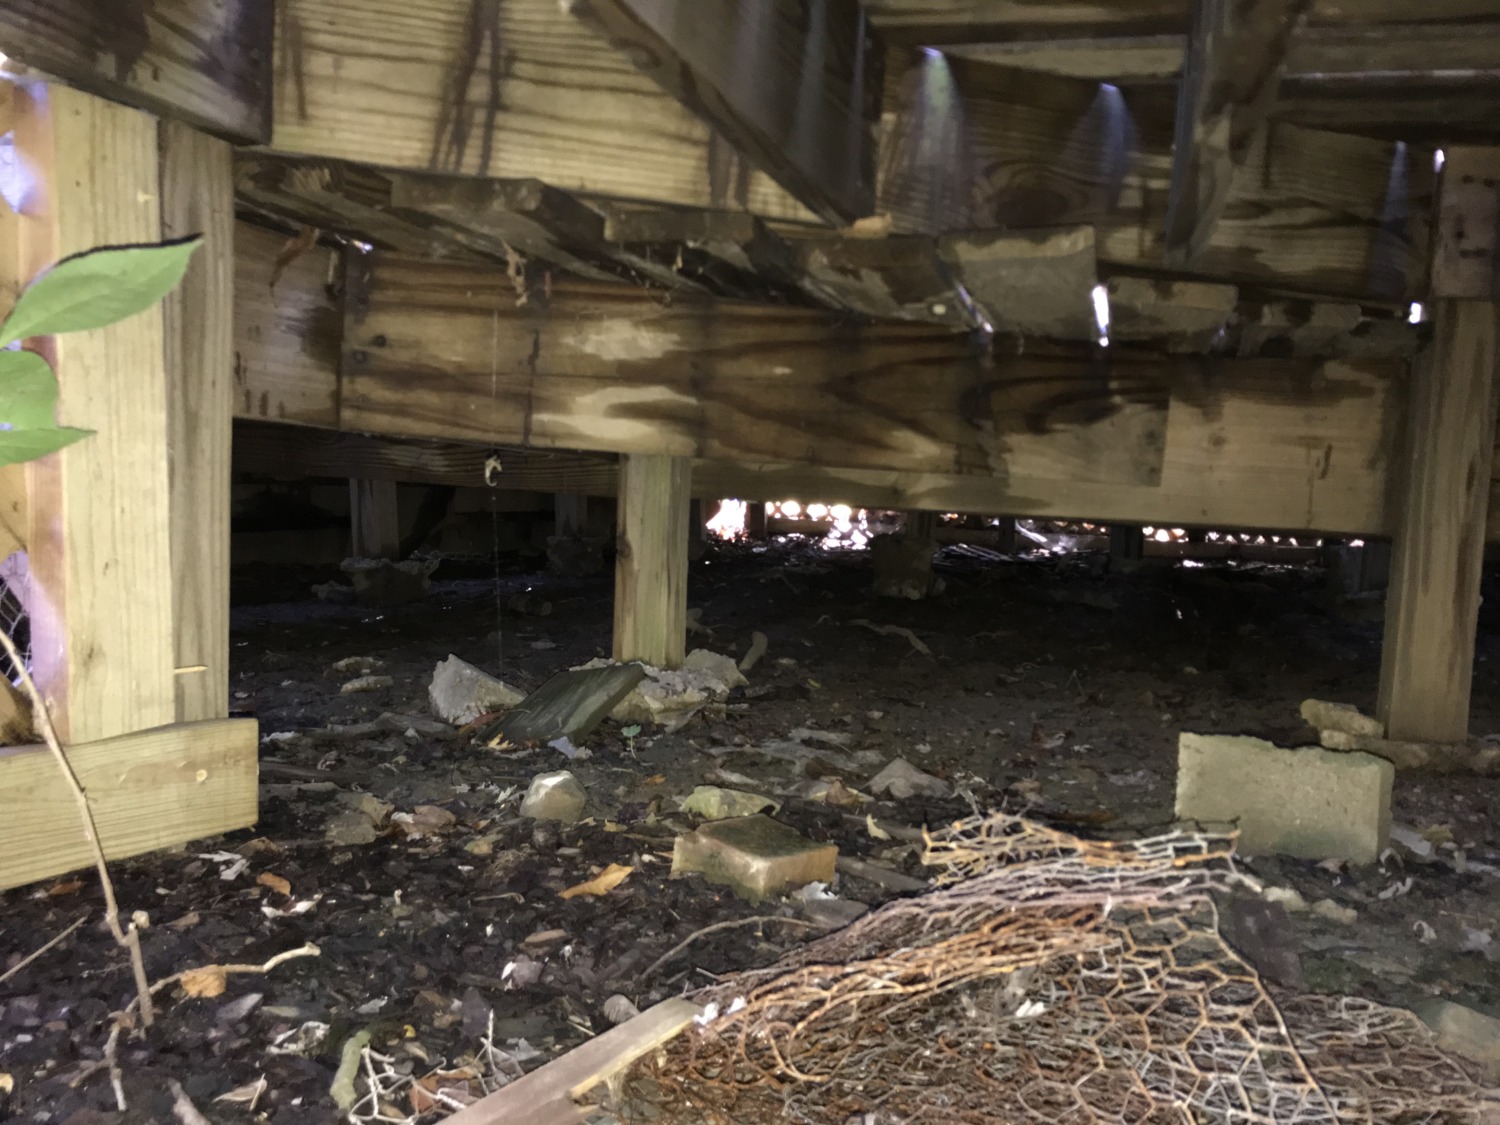
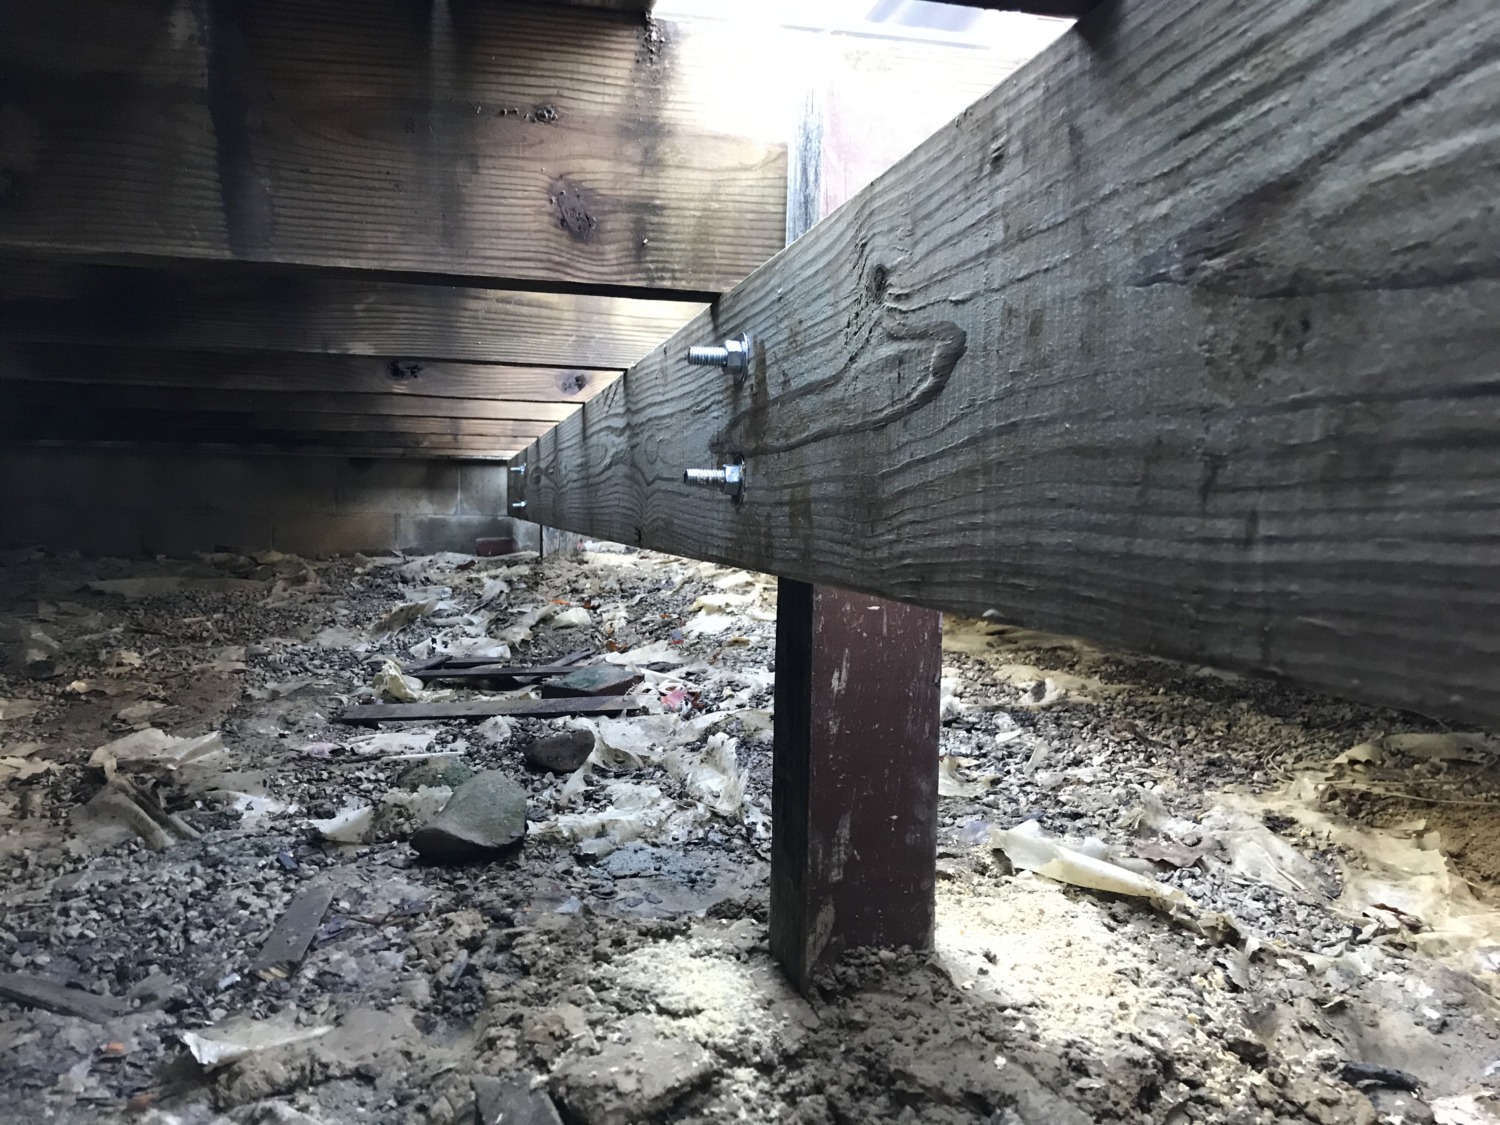
He placed the posts in the holes and filled the holes with Quickcrete around the posts. Hopefully this will protect the joist from heaving in the freeze and thaw cycles of winter. Tom had to get creative with bringing in the two 16 foot boards because the deck is enclosed around the sides. He created a small opening on one side, then shoved the boards in. He lowered himself through the deck openings, and then pulled the boards over the opening. Lying on his side or stomach, he drilled holes and screwed the joist boards in place. Finally, he inserted carriage bolts sturdy enough to support the joist.
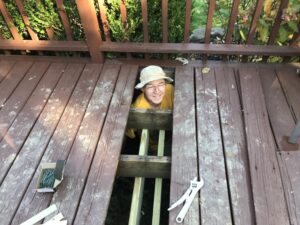
All of that sounds simple enough, but he had to be a contortionist to get the right angles on everything. Adding to his discomfort was the small hole he used to get up and down through the deck. Once he had the joist in place, he realized he had made the hole even smaller. So he spent quite a bit of time under the deck and didn’t come up any more often than he had to. You can see why my job of handing him the tools and fetching additional tools from the garage was very important.

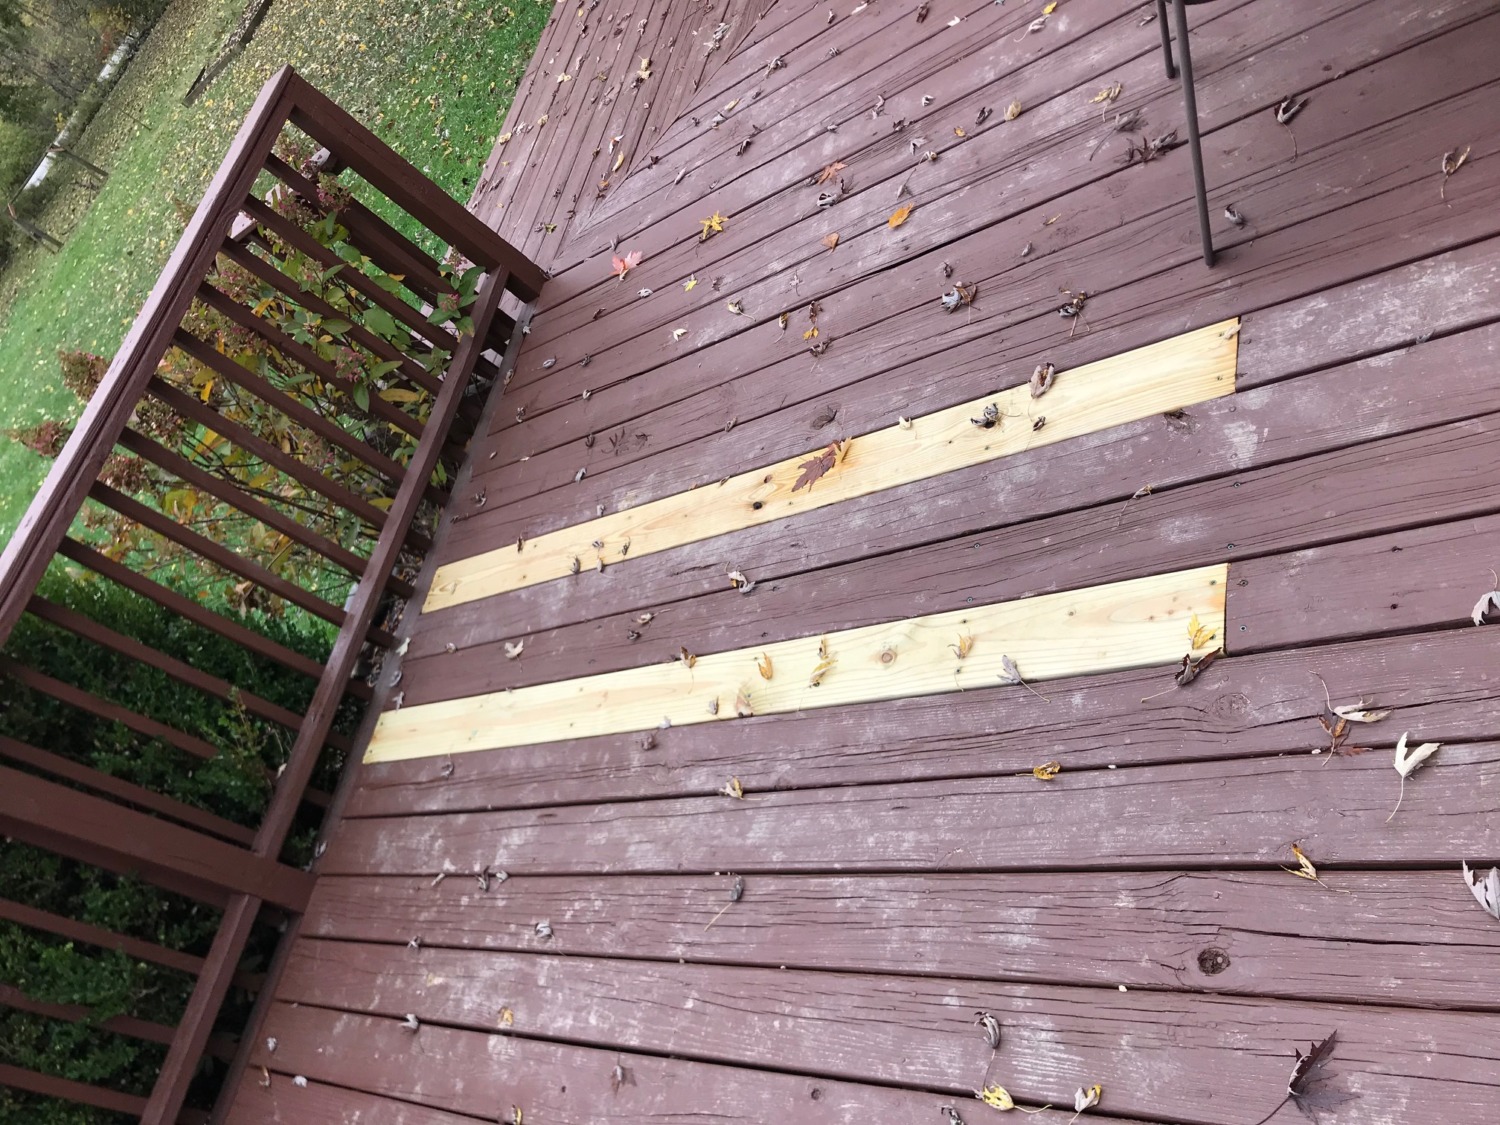
When the joist was firmly in place, Tom added shims to the decking support boards. Then he replaced the decking boards on top. Two of the boards split when we pried them up, so Tom had to replace them. They look a little funny now, but they will blend in when we can paint them in the spring.
Tom is much happier with the upper deck now that it has another joist. It is less bouncy and safe for any number of people standing or sitting.